Getting started with Cahute in Visual Studio
It is possible to develop and build Cahute for various environments using Microsoft’s Visual Studio starting from version 17.6 (VS2022).
Warning
Visual Studio is not to be confused with Visual Studio Code, which is an entirely different program.
Note
This version of Visual Studio is targeted since it is the first to
include vcpkg (source).
It may be possible to compile Cahute on earlier versions of Visual
Studio; see Install and use packages with CMake for more information.
Cloning the Cahute repository in Visual Studio
When opening Visual Studio, select “Clone a repository” (first option).
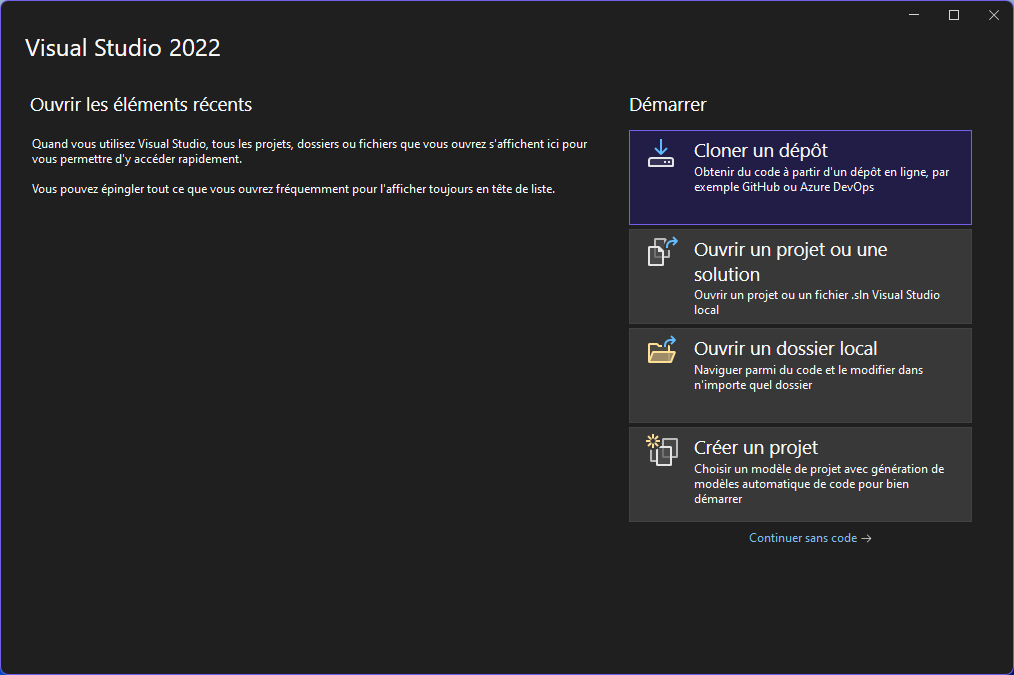
Initial window for Visual Studio, with the first option selected.
Enter the URL of the repository you’re cloning
(https://gitlab.com/cahuteproject/cahute.git if cloning the upstream),
and select “Clone”.
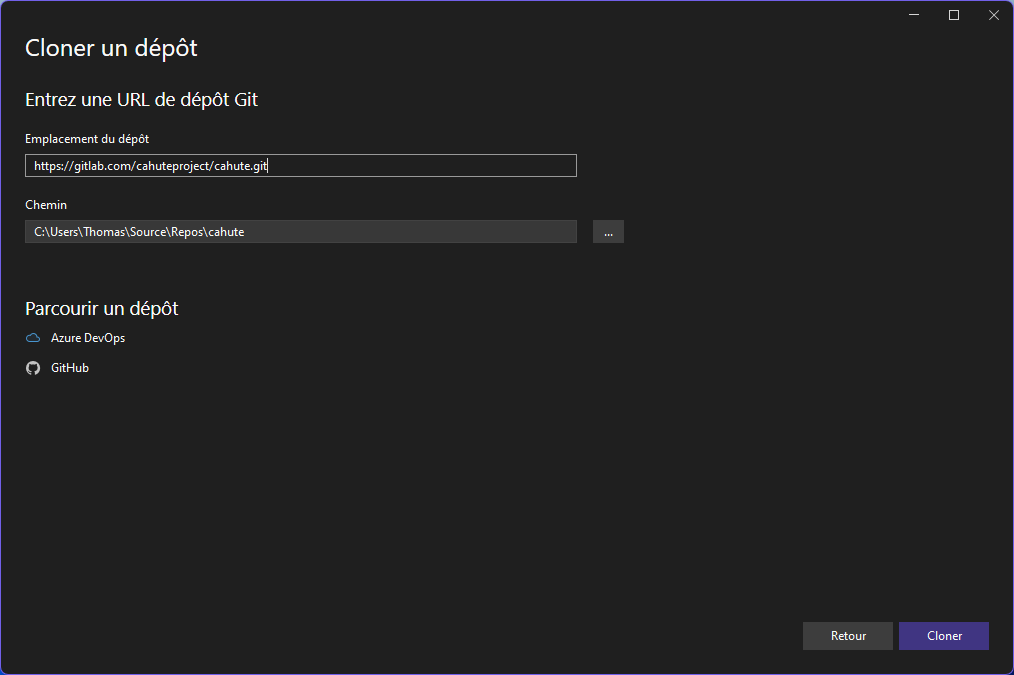
Repository cloning window, with the information filled out to clone the main branch on the official project repository.
Warning
If you are building the project in the context of the
Creating a merge request guide, the repository’s URL is yours,
not the repository’s, and can be obtained through the Code button
on the Gitlab.com interface:
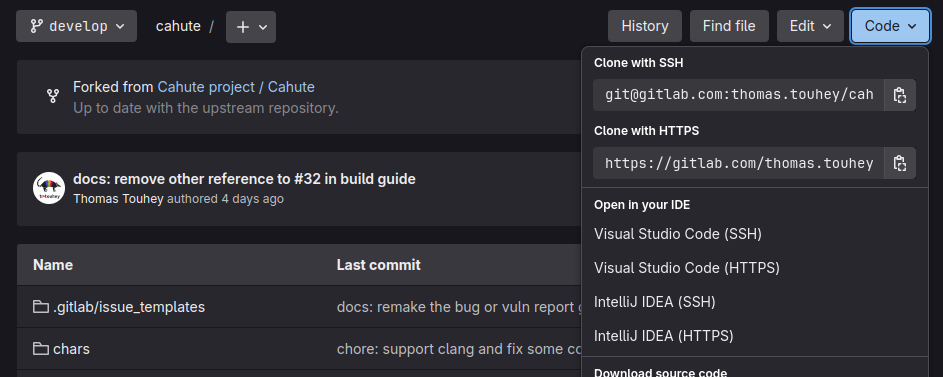
Gitlab.com’s repository interface with “Code” selected, presenting the options to clone the repository.
Note
The IDE may open to nothing much, such as in this example:
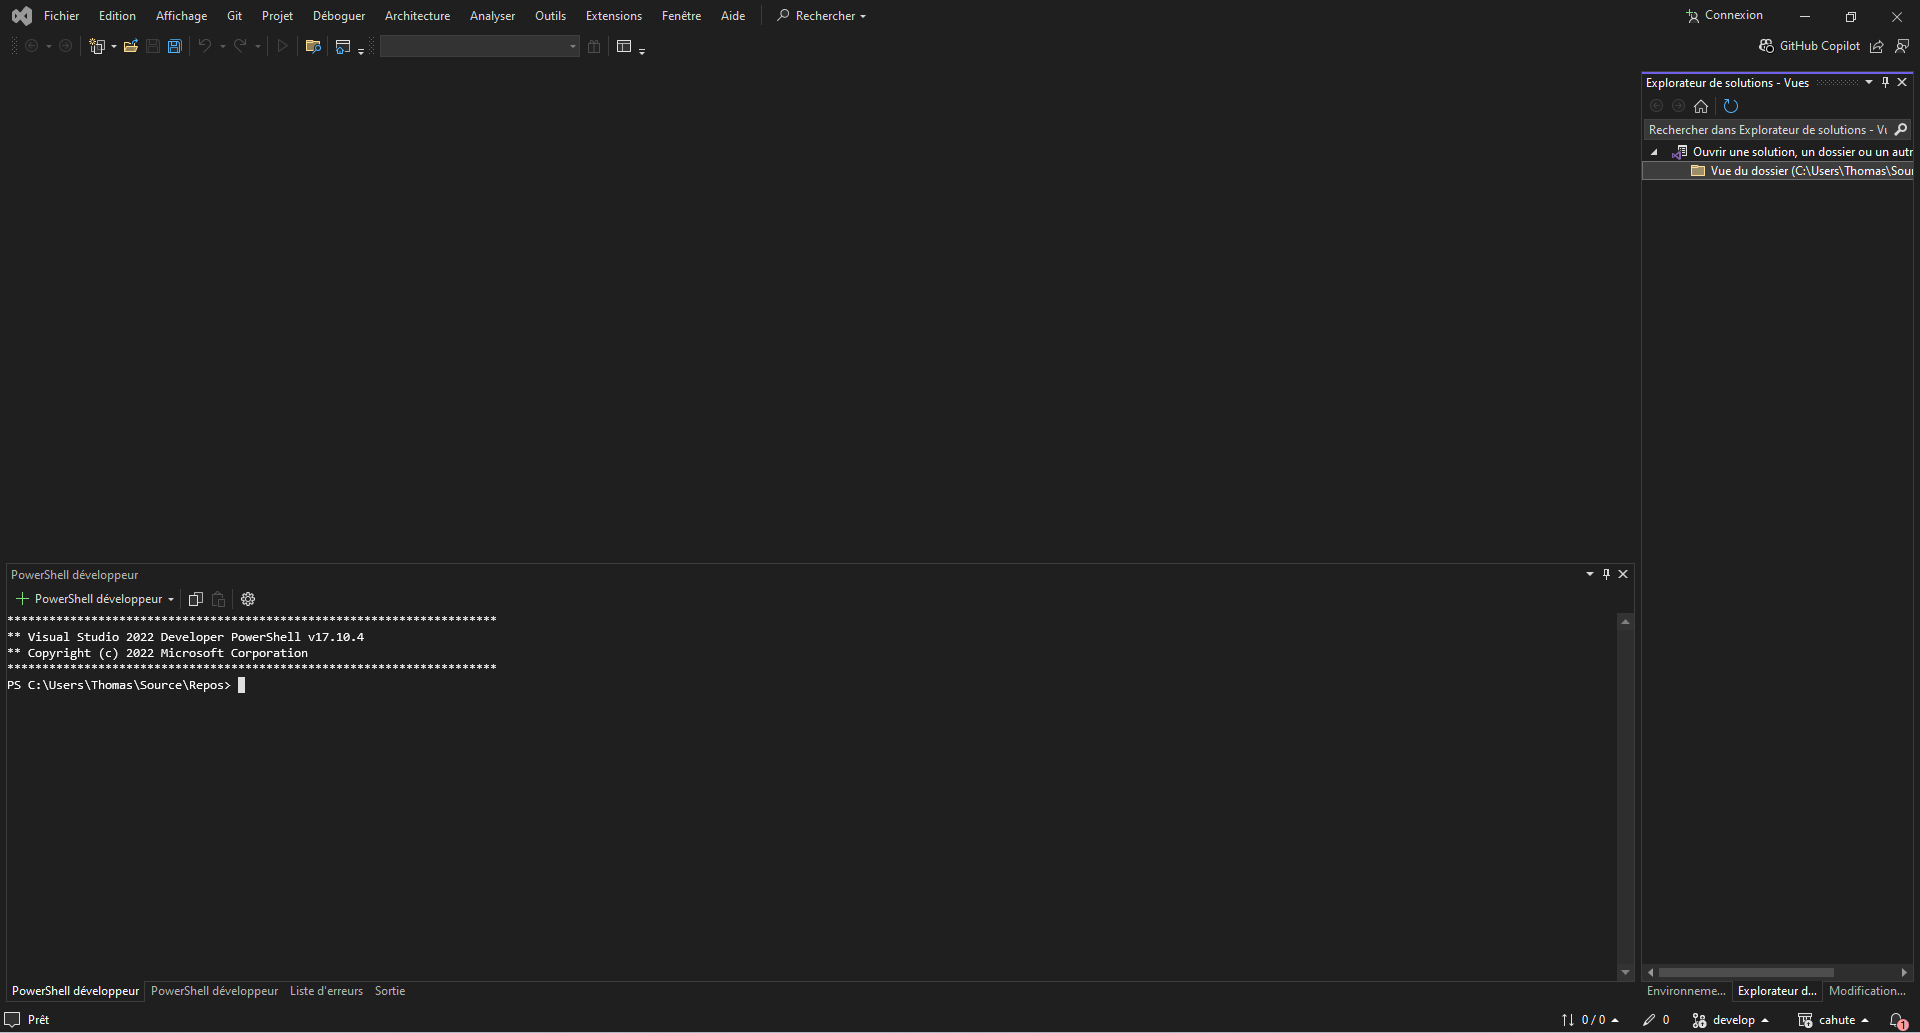
Empty IDE windows, obtained after cloning the repository.
In this case, double-clicking on “Directory view” in the Solution Explorer on the right should solve this.
Once the repository is loaded, the IDE should automatically prepare the repository for building using CMake and vcpkg. The resulting view should resemble this:
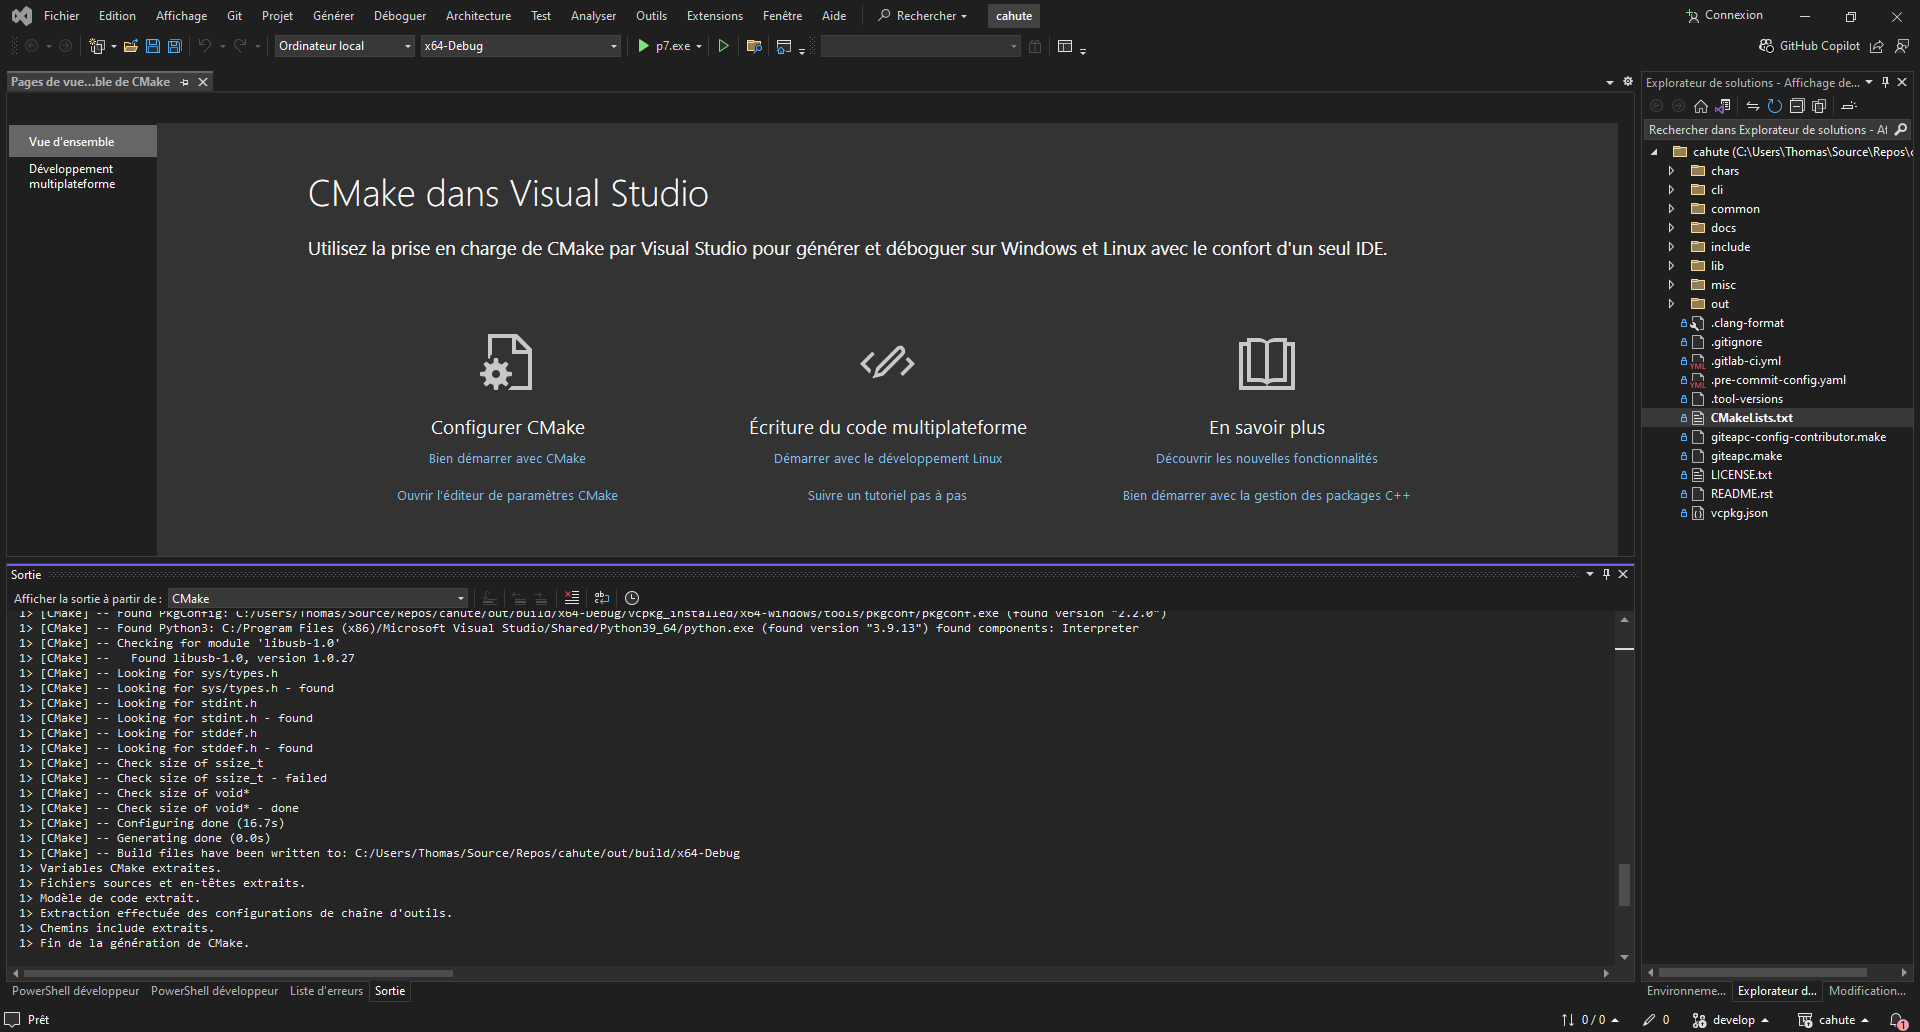
Visual Studio, after the repository was successfully loaded and configured.
Building Cahute
The following guides cover how to build Cahute for various platforms, using Visual Studio: